2026 ADAS Diagnostics: Troubleshooting Radar & Lidar Calibration Misalignment and Autonomous Steering Faults
As 2026 autonomous driving platforms and Level 3/4 ADAS suites rely heavily on sensor fusion—combining long-range millimeter-wave radars, high-resolution lidars, and optical cameras—even microscopic structural shifts cause major tracking errors. One of the most common phantom faults is Dynamic Radar-Camera Misalignment and Autonomous Emergency Braking (AEB) False Positives.
When a vehicle abruptly slams on the brakes or deactivates adaptive cruise control without physical obstacles, standard OBD scanners only show generic calibration loss codes. This masterclass outlines the professional engineering workflow required to recalibrate and align advanced sensor arrays accurately.

Figure 1: Professional ADAS calibration target setup and optica alignment framework for autonomous sensor suites.
1. The Physics of Sensor Fusion & Angular Tolerances
Modern ADAS architectures demand precise spatial awareness. A deviation of just 0.5 degrees in a front radar module results in a massive positional error calculation hundreds of meters down the road.
- Structural Frame Shifts: Minor bumper impacts, suspension height alterations, or windshield replacements shift optical cameras and behind-grille radars out of alignment.
- Environmental Attenuation: Mud, micro-stone pitting on radar radomes, and optical distortion on windshield glass degrade photon and radio wave return signals, triggering fault lockouts.
- The Sensor Fusion Conflict: When optical cameras detect a lane line differently from radar trajectory data, the Domain Controller registers a safety conflict and shuts down autonomous steering assist.
2. Step-by-Step Advanced Diagnostic & Calibration Workflow
Correcting ADAS misalignment requires strict adherence to geometric leveling and dynamic calibration routines.
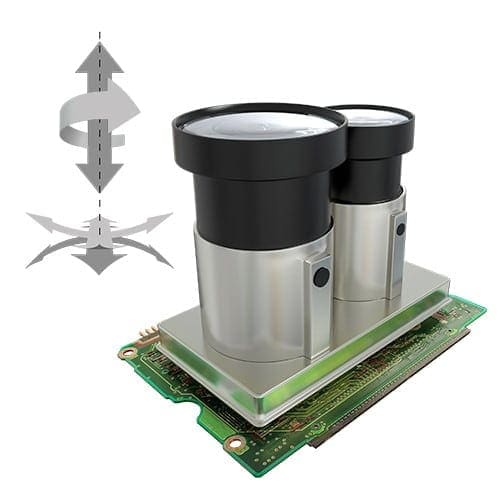
Figure 2: High-precision Lidar sensor module alignment and optical testing bench for 2026 architectures.
- Step 1: Leveling and Wheel Alignment Verification: Ensure four-wheel thrust angles and ride height are within strict OEM specs before attempting any optical or radar calibration, as chassis pitch directly alters sensor pitch angles.
- Step 2: Static Target Setup & Laser Leveling: Position official OEM calibration frames and target patterns precisely perpendicular to the vehicle centerline using laser measuring tools and plumb bobs.
- Step 3: Dynamic Road Calibration Routine: Execute software-guided road calibration drives at specified speeds on well-marked highways to allow the ADAS module to auto-align using permanent roadside landmarks.
3. Permanent Corrective Action & System Validation
Clearing diagnostic trouble codes without physical adjustment is a recipe for recurrent safety failures. Professional remediation requires:
- Radome Brackets Restoration: Replace deformed plastic bumper brackets or loose mounting hardware that allows sensor micro-vibration at highway speeds.
- Software Parameter Flashing: Update ADAS domain controller firmware to the latest calibration specifications to improve filtering algorithms against false positive triggers.
- Final Quality Test Drive: Perform comprehensive functional checks of Lane Keep Assist (LKA) and Adaptive Cruise Control (ACC) under varying lighting and traffic conditions.
Master Mechanic Summary
Mastering 2026 ADAS diagnostics demands combining optical precision, geometry alignment, and software calibration. Ensuring strict sensor alignment prevents phantom braking and guarantees reliable autonomous performance.